How to Install CARL on cPanel Shared Hosting
Installing CARL takes three stages: create a database in cPanel, run the CARL installer, and complete the setup wizard. The installer handles almost everything automatically. Your job is to follow the steps in order and have your database credentials ready before you start.
What You Need Before You Start
You need a cPanel shared hosting account with PHP 8.1 or higher, access to MySQL Databases in cPanel, and your CARL purchase confirmation email. The confirmation email contains the installer file download and the email address and password you'll use to verify your license. Have those credentials ready before you begin.
Step 1: Create Your Database
In cPanel, go to MySQL Databases. Create a new database and give it a recognizable name, something like yoursite_carl. Then create a new database user with a strong password. Add that user to the database and grant all privileges. Write down the database name, username, and password immediately and store them somewhere safe. The setup wizard needs all three.
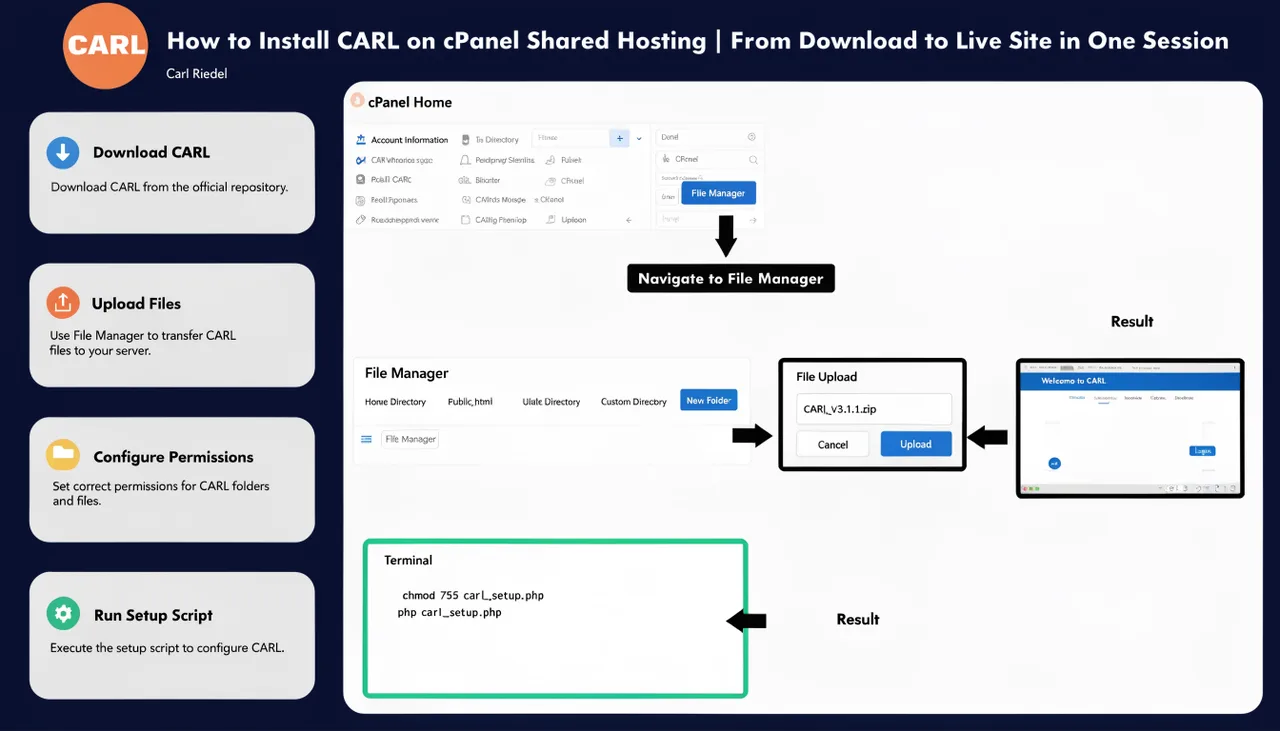
Step 2: Upload and Run the Installer
Download the installer file from your CARL purchase confirmation email. In cPanel File Manager, navigate to your domain's public_html/ folder and upload the installer file there. Then open a new browser tab and navigate to the installer URL shown in your purchase confirmation.
The installer opens with a pre-flight check. It verifies your server meets the requirements: PHP 8.1 or higher, the required PHP extensions (curl, mbstring, pdo, pdo_mysql, json, zip), and a writable directory. All green means you're good to proceed. If anything fails, contact your hosting provider and ask them to enable the missing requirement.
Enter the email address and password from your CARL purchase confirmation, then click Verify License and Install CARL. The installer contacts the CARL licensing server, verifies your license, downloads the full CARL package, runs a SHA-256 integrity check, and extracts everything into your document root. This usually takes 30 to 90 seconds. Don't click anything or close the browser while it runs.
When it finishes, a green success message appears. The installer self-deletes at this point as a security measure. Click Continue to CARL Setup.
Step 3: Complete the Setup Wizard
On the setup page, click Fresh Install. Fill in your database connection details: DB_HOST (leave as localhost unless your host specifies otherwise,) DB_NAME, DB_USER, and DB_PASS using exactly what you set up in cPanel.
The SITE_ROOT field is the most common source of installation errors. It must be the full absolute server path to your public_html folder, starting with /home/, with no trailing slash. Look at the address bar in cPanel File Manager while you're in your public_html folder: that path is your SITE_ROOT. It looks like /home/yourusername/public_html. Not a URL, not a relative path.
Choose your admin username and a strong password, then click Run Fresh Install. CARL creates all database tables and confirms success. Click Go to Login.
Your First Login
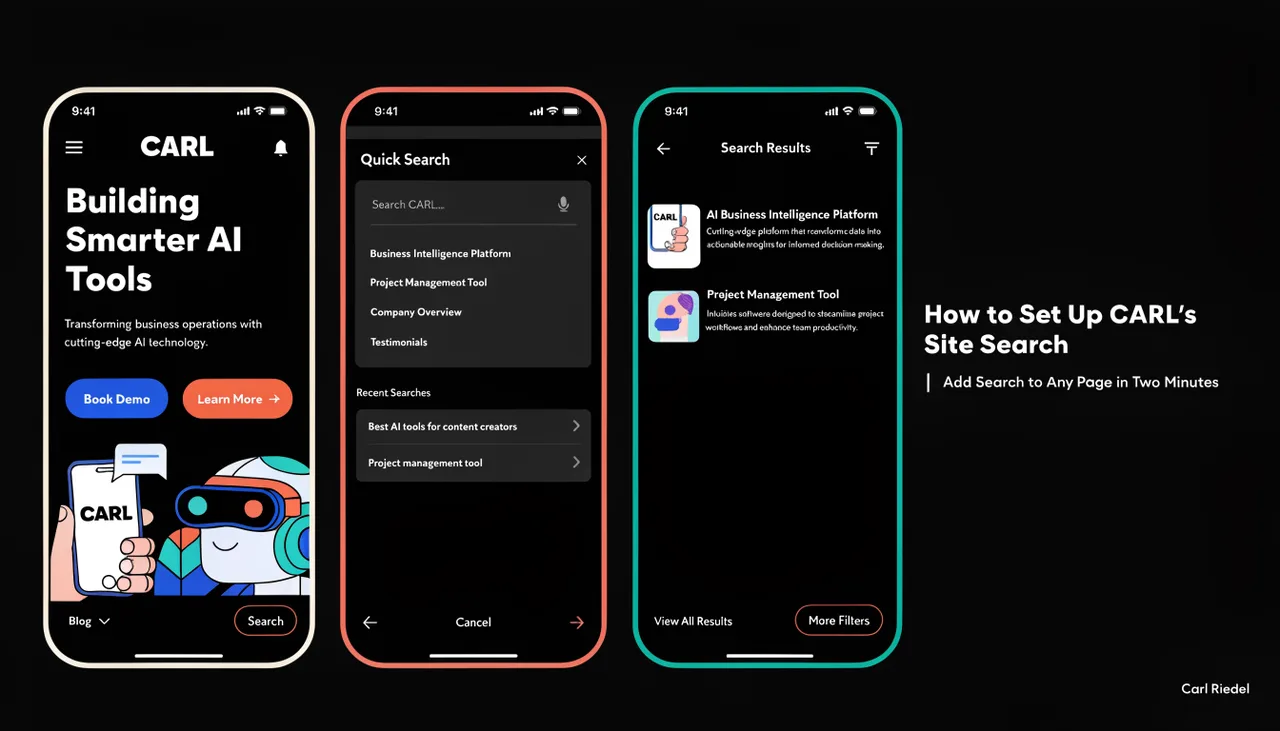
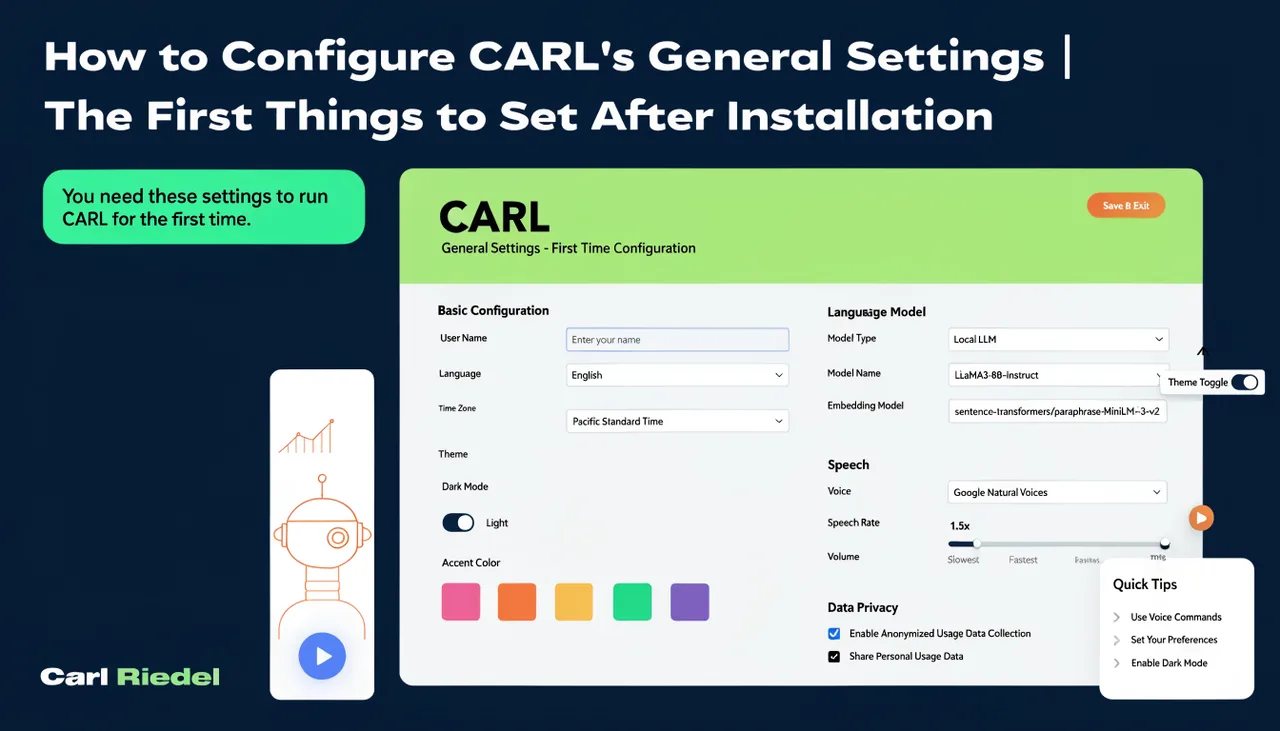
Go to https://yoursite.com/admin/ and log in with the credentials you just set. Bookmark this URL immediately. Once you're in, go to Settings and complete your initial configuration before publishing anything. For a full walkthrough of what to set up on first login, see How to configure CARL's general settings.
If Something Goes Wrong
License verification failures are almost always due to incorrect credentials: use the exact email and password from the purchase confirmation, not your hosting login. Database errors in the setup wizard are almost always a credentials mismatch or missing privileges: double-check the database name, username, and password against what you created in cPanel, and confirm the user has all privileges on that database. SITE_ROOT errors mean the path format is wrong: copy it directly from the cPanel File Manager address bar.